


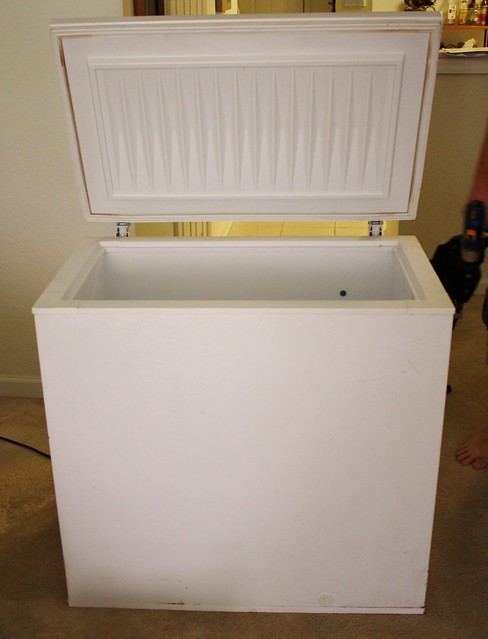
We're about halfway done with our keezer! But before I get into the how-tos of keezer-building, let me explain why we're doing this in the first place. Burton is a homebrewer & saving, cleaning, & de-labeling beer bottles is a pretty tedious task. So we decided to start kegging, but to do that & have beer on tap, you either need a keggorator (built from a refrigerator) or a keezer (built from a freezer). We decided to go the keezer route partially for aethetics, but mainly for temperature control. So here is our journey so far! First, we found a pretty decent freezer on craigslist that could hold at least 4 kegs. When the guy found out what we wanted to do with it, he knocked $20 off & even threw in a beer pull!
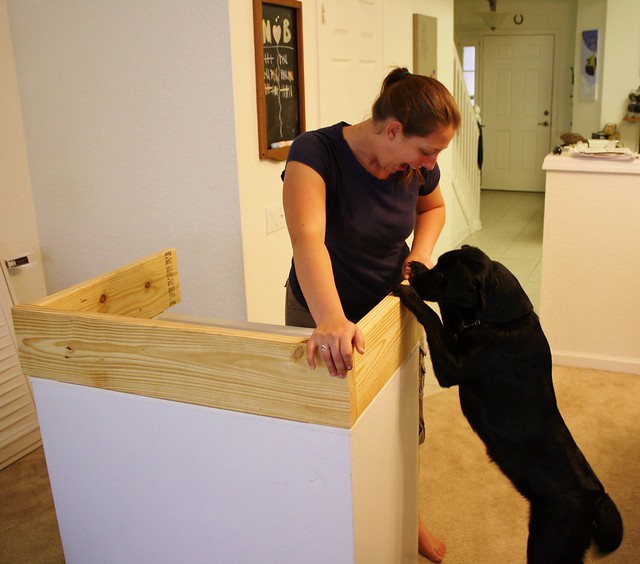
Next, we had to build a wood collar to sit between the freezer & the lid. The extra height creates room for the kegs to stand & a place to drill holes for the faucets. So we removed the lid & hinges, & we placed the 2x8s on top to take measurements. Myla even helped!
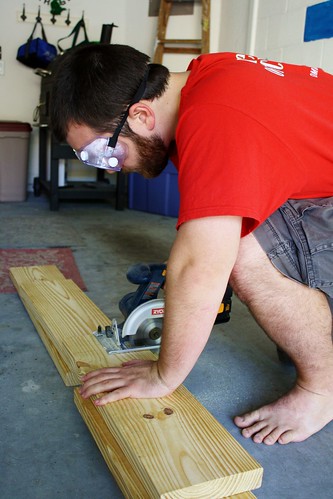
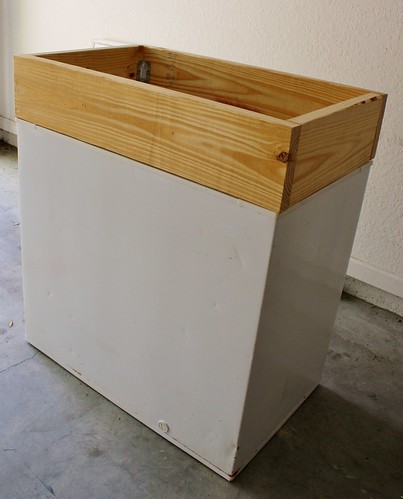
After cutting & sanding the wood, we attached the pieces with corner brackets (you can see one peeking out in the picture above). We filled any cracks with stainable wood putty to keep the collar as insulated as possible. Then we put the collar back on top of the freezer to make sure it was sitting right & flush with the base.
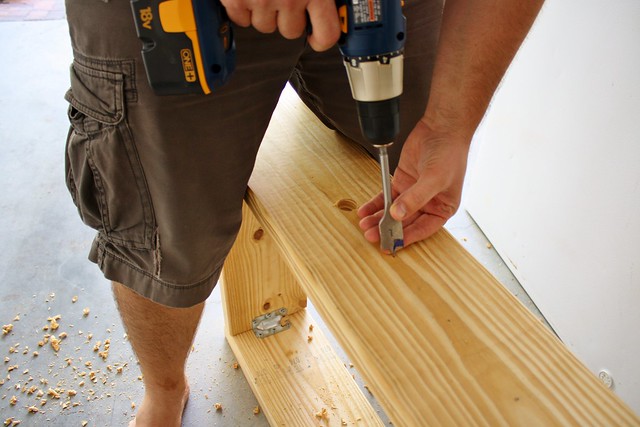
Burton used a 1" spade bit to drill four holes in the front panel of the wood. This is where the faucets will go. We spaced each hole about four inches apart.
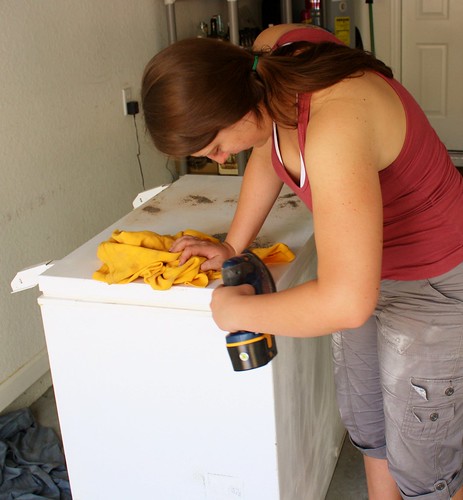
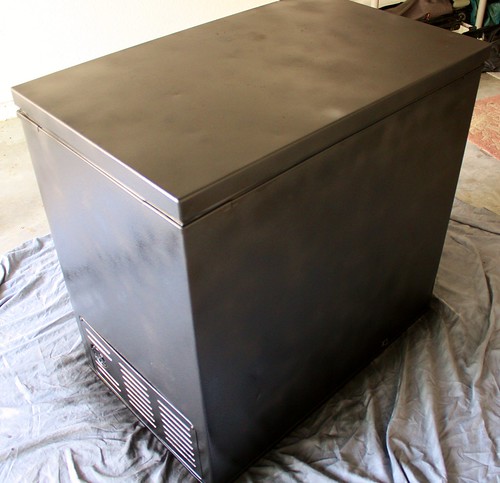
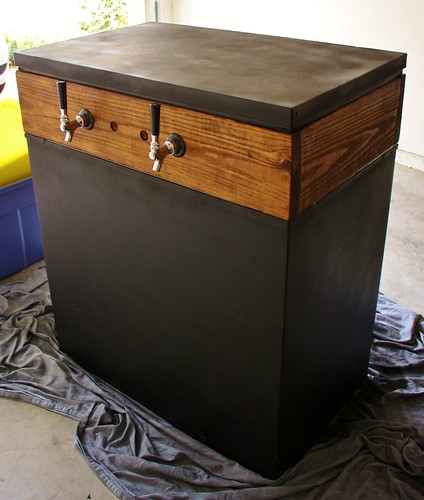
I started prepping the freezer for spray paint by lightly sanding the painted metal & removing any rust. I then used an indoor/outdoor primer before adding the chalkboard spray paint. The above picture is the freezer after its first coat of spray paint. We decided to go with the chalkboard look because we were inspired by this keezer & we're also going to be bringing it to our reception, so it will match the rest of the wedding :]
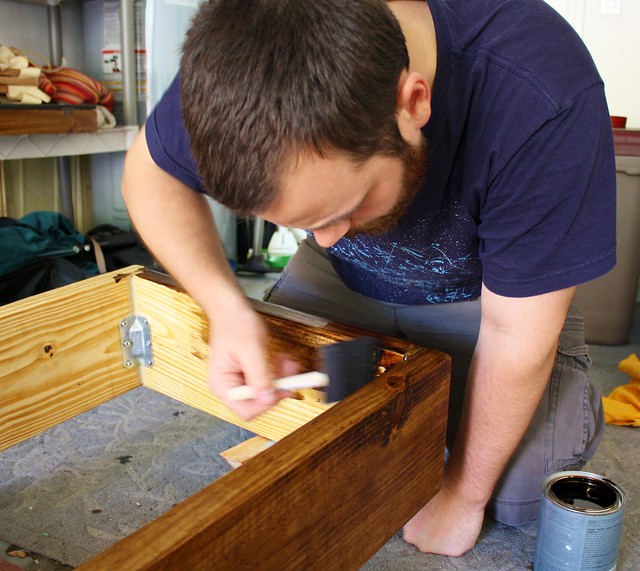
While I worked on the spray painting, Burton got started on staining the wood collar. We used a wood conditioner first & then just did one coat of stain. After letting it sit four 24 hours, we used a clear silicone caulk to attach the collar to the freezer base.

Now we just need to let that sit for a couple of days. Next up, we'll reattach the lid hinges to the collar & start working on the inside components. We have a brew/work on the keezer day scheduled for Sunday :] Whew!
 I try to add something lovely to my life every day. My dream is to live a crafty, happy life in Portland OR, with my husband, Burton :]


No comments:
Post a Comment