Photobucket        Photobucket       Photobucket       Photobucket
Showing posts with label home. Show all posts

one year oregonians!


Yesterday was our anniversary of arriving in Oregon & I can't believe it's been a year already!! We began our special day at our friends' Vietnamese engagement ceremony, which was filled with so many interesting & lovely customs, including the groom's family gifting the bride's family with a whole roast pig! Afterwards, we met up with some other friends at a special brewery event which even included beer donuts & beer ice cream! Then we had yummy dinner at a nearby food cart pod, drank some more beer in our friends' backyard, & watched a movie once the sun set. It was such a fun day to mark the occasion :]

Our first year as Oregonians has been filled with such positive experiences, wonderful new friends, A LOT of scrumptious food, & unbelievable natural beauty :] It isn't difficult to imagine Burton & I buying a cute Portland bungalow & raising little kiddos out here. Since we arrived, I knew that this was the place I wanted to lay down some roots & we are very excited for many more years in our new home state!

living in 350 square feet!

Welcome to our home! Out in Portland, we've downsized to a 1-bedroom apartment in the Irvington
district. It's only 350ish square feet, but it doesn't feel like it's too small for what we need.
Actually, Burton & I both agree that this is our favorite rental we've ever had :]

Tiny spaces are fun because they force you to get clever with storage.
I honestly don't think we could've done a better job with the space.

Here's the living room leading into the galley-style kitchen.

We opted for a projector & screen instead of a TV. It is AWESOME.

We even have stuff stored underneath the couch!

Myla's favorite spot :]


Tiny kitchen!

Stephen Colbert approves of our cooking.


Kitchen leading into the bedroom. Bathroom & washer/dryer on the left.

We lovelovelove our bedframe & headboard!
There is crazy amounts of storage in those drawers & cubbies.
We even have our giant wireless printer in one of those drawers!


Our little succulent garden!

My "princess" mirror behind the door & next to the closet.

Our gallery wall! This is what happens when you have a ton of artwork & very little wall space.

The bathroom! Those vinyl raindrops are probably my favorite addition to our home :]


The end! Thanks for visiting :]

life in portland, oregon!

Burton & I started calling Portland home on June 13th

 and we're falling more in love with this city every day!

 There are so many fun things to do outdoors!

There are so many beautiful places to hike!

 There are so many parks to hang out in!

 This is Forest Park, one of the largest urban parks in the country (over 8 miles!)

 This is Mill Ends Park, the smallest park in the world (2ft. in diameter!)

There are so many gorgeous swimming holes!

There are so many beautiful waterfalls!

This one, Ramona Falls, is our favorite so far :]

There are so many beer festivals & breweries!

Even the food is better out here. Seriously can't stop eating!

The people here are awesome.

and we can tell Myla loves being an Oregonian too!

Burton's mom even visited from Japan & spent a few weeks with us!
We're secretly hoping it's the beginning of our family eventually following us out here ;]

Because Oregon is so wonderful.
And Burton & I finally feel like we're home :]

DIY fabric scraps wreath


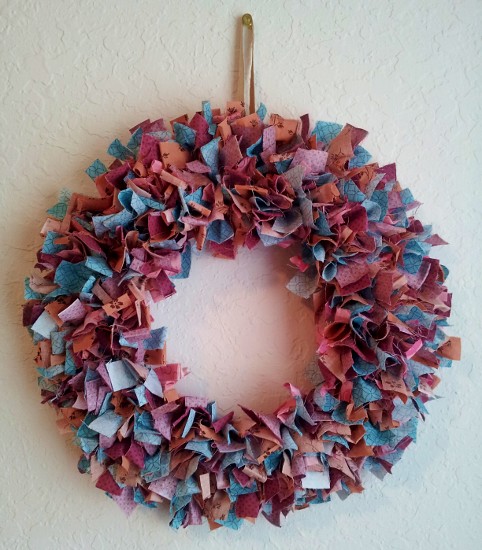
I had plenty of scrap fabric left over from my fabric flower hair pins, so I decided to make this little wreath with them! All you need is a wire wreath frame & fabric scraps (I just like to use the fabric quarters they sell at Joann).


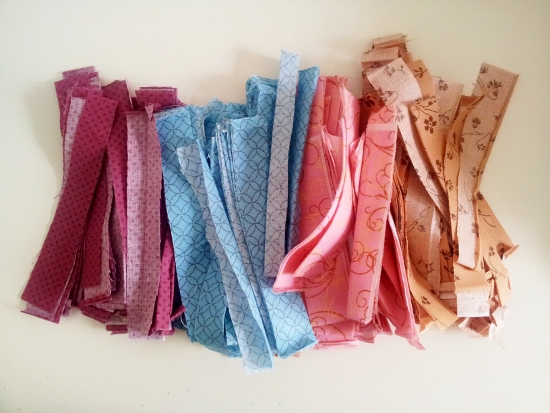
Cut up all of your fabrics into strips about 6" long & half an inch wide. They don't need to be exact though. I just kept folding the fabric in half & cutting until it looked about right. I also laid my scraps out in the order of the pattern I wanted to do. Deciding on a pattern isn't completely necessary, but I think it makes the whole lot process a bit easier.


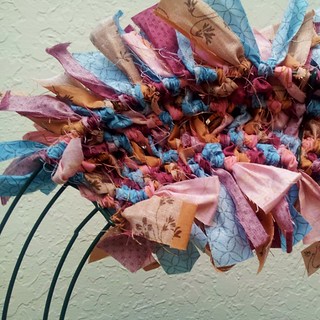
All you do next is tie the scraps around the wire in a knot & slide it, until the whole frame is filled. So simple! It's a little time-consuming though so I recommend watching a good movie while wreath-making. The process itself doesn't require a whole lot of brain power anyway ;] When you're done, just tie some string, ribbon, or rafia in a loop around the wire so you can hang your new creation!

These would be so cute for holidays as well, with fabric in the different color schemes. I'm already eager to make my next one; I just bought some red, white, & blue fabric quarters for an Independence Day wreath. I know I'll have to wait almost a year to display it, but it's the one holiday I have zero decorations for. Happy Sunday! XO.

building our keezer, part 2

 
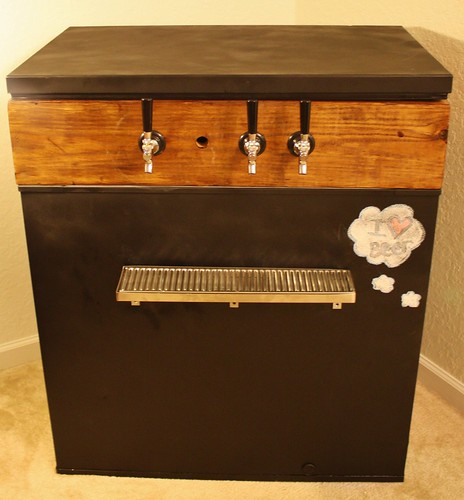
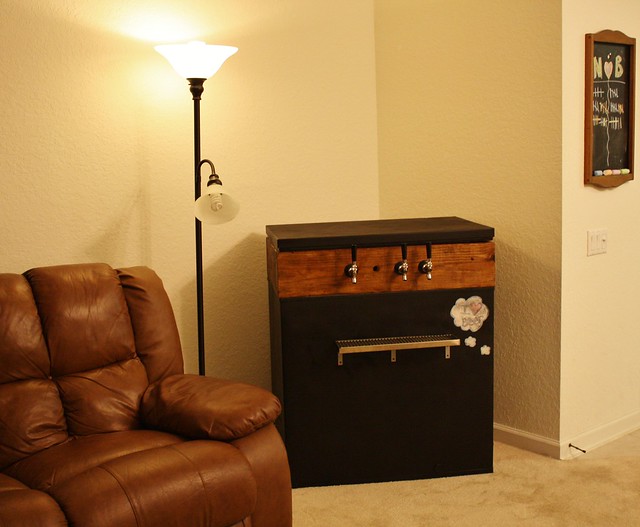
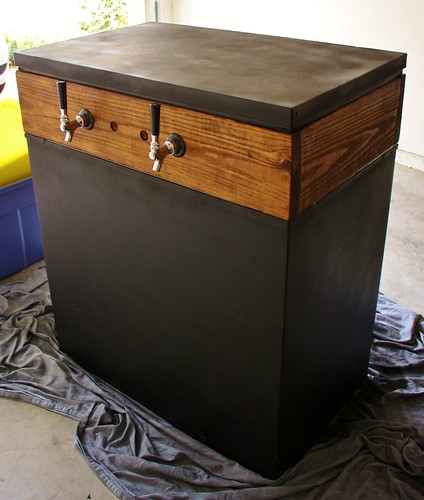
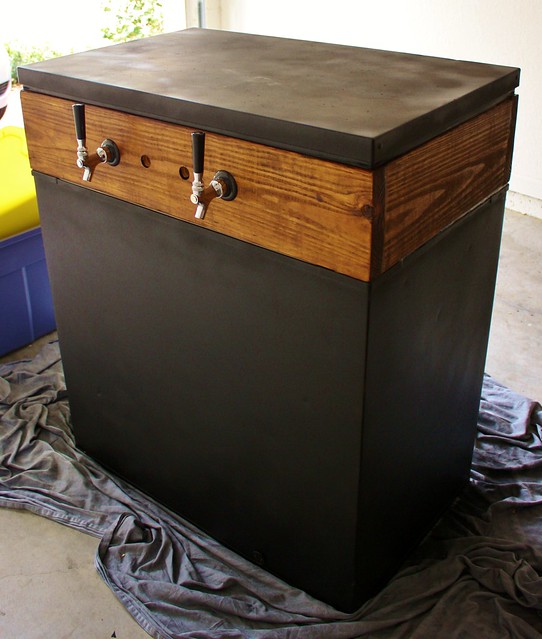
It's complete! Except for a missing faucet due to a shipping error ;]
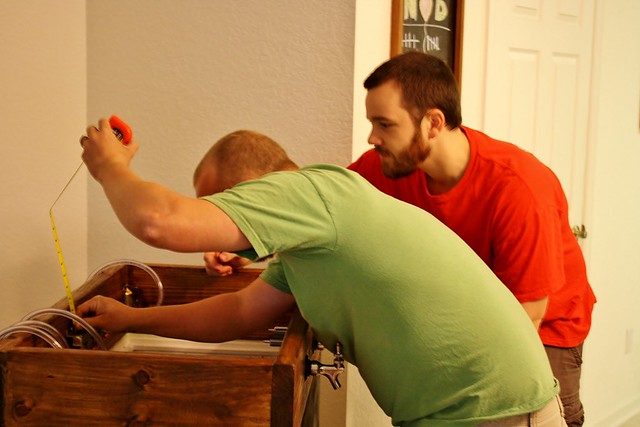
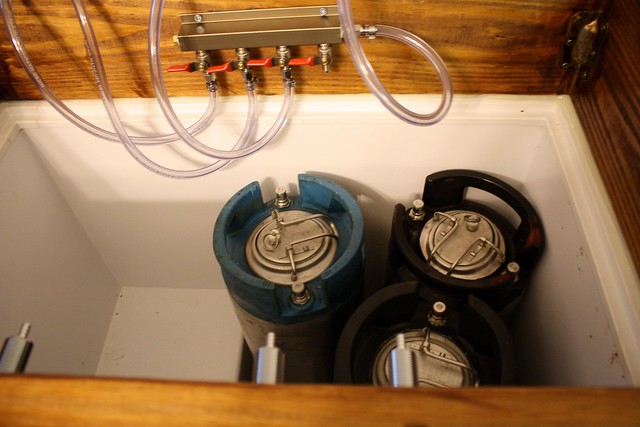
With the outside of our keezer finished, it was time to work on the inside components. Burton & our friend Isaac measured, cut, clamped, & attached tubes to kegs, CO2 regulators, & faucets. Instead of going into the long-winded how to process, here's the video we used for reference. The tutorial is awesome & we honestly didn't even really need to do much research elsewhere.


We purchased used Pepsi Co. kegs & the insides smell like soda syrup!


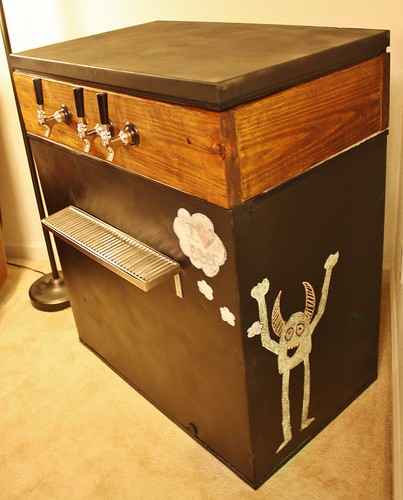
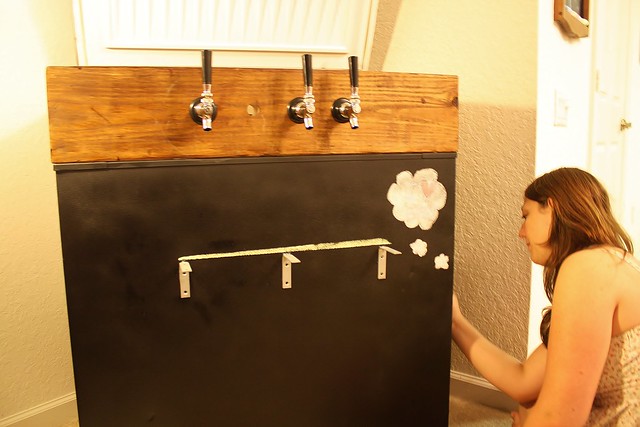
Measuring for the drip tray & adding some chalk decorations :]


We're beyond thrilled & super proud of our latest project. It's sure to be hit at the wedding & will be such a temptress once we get some beer in those kegs! Burton started brewing a new batch today, a vanilla nut brown ale. We'll also be brewing some beers for the wedding soon, including some pumpkin beer to go with the season (our wedding date is two days after Thanksgiving)! Can't wait :]

building our keezer, part 1


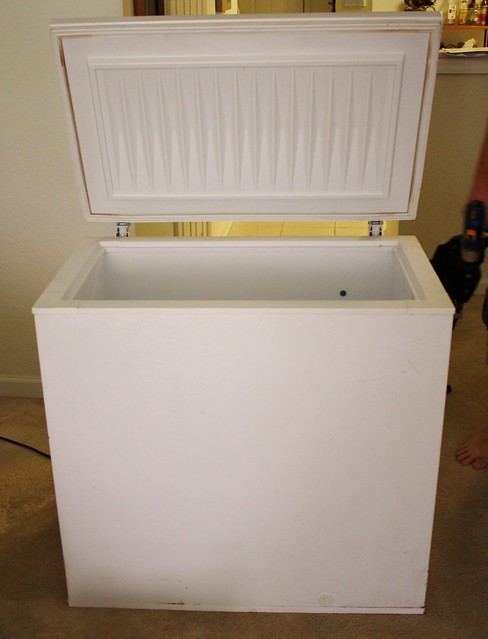
We're about halfway done with our keezer! But before I get into the how-tos of keezer-building, let me explain why we're doing this in the first place. Burton is a homebrewer & saving, cleaning, & de-labeling beer bottles is a pretty tedious task. So we decided to start kegging, but to do that & have beer on tap, you either need a keggorator (built from a refrigerator) or a keezer (built from a freezer). We decided to go the keezer route partially for aethetics, but mainly for temperature control. So here is our journey so far! First, we found a pretty decent freezer on craigslist that could hold at least 4 kegs. When the guy found out what we wanted to do with it, he knocked $20 off & even threw in a beer pull!


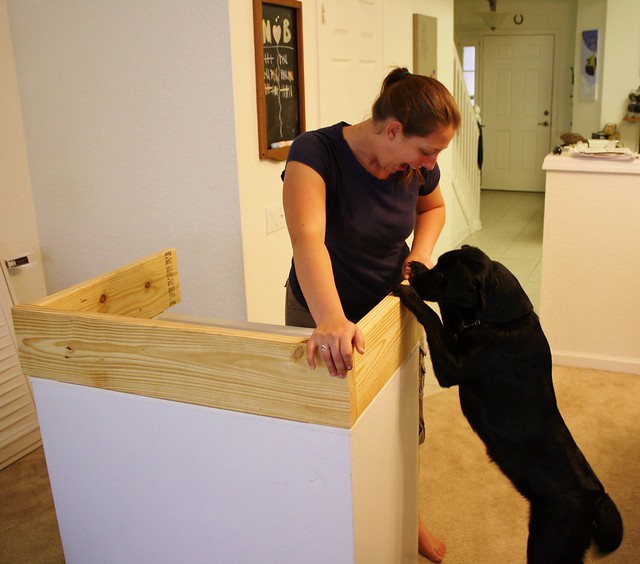
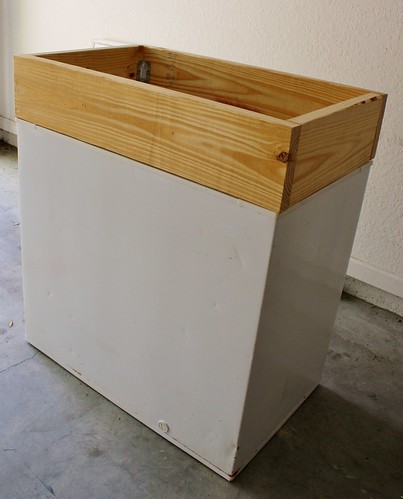
Next, we had to build a wood collar to sit between the freezer & the lid. The extra height creates room for the kegs to stand & a place to drill holes for the faucets. So we removed the lid & hinges, & we placed the 2x8s on top to take measurements. Myla even helped!


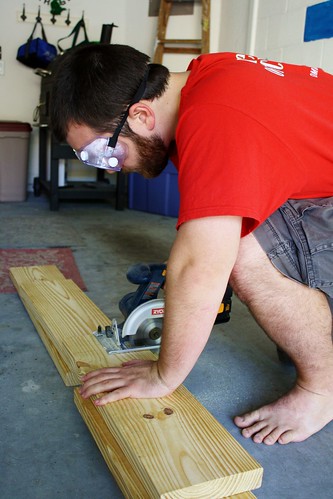
After cutting & sanding the wood, we attached the pieces with corner brackets (you can see one peeking out in the picture above). We filled any cracks with stainable wood putty to keep the collar as insulated as possible. Then we put the collar back on top of the freezer to make sure it was sitting right & flush with the base.


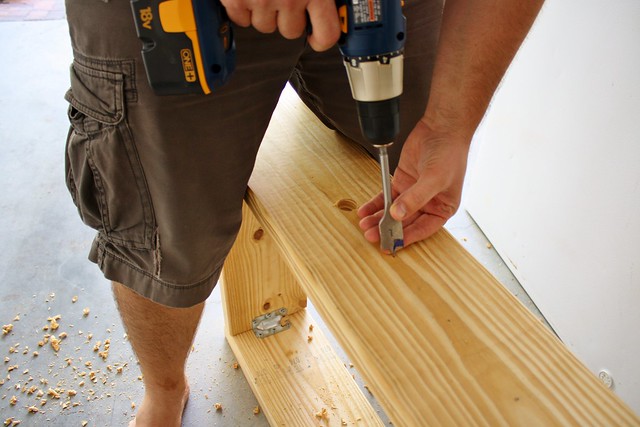
Burton used a 1" spade bit to drill four holes in the front panel of the wood. This is where the faucets will go. We spaced each hole about four inches apart.


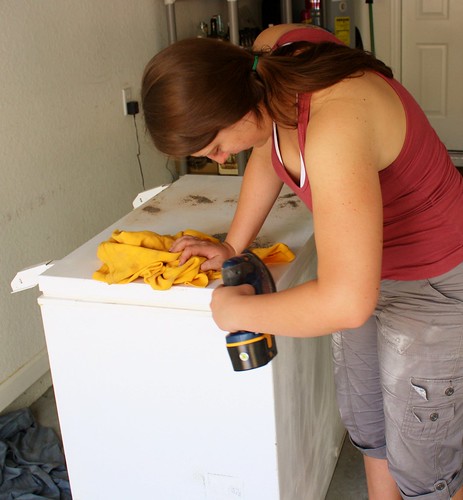
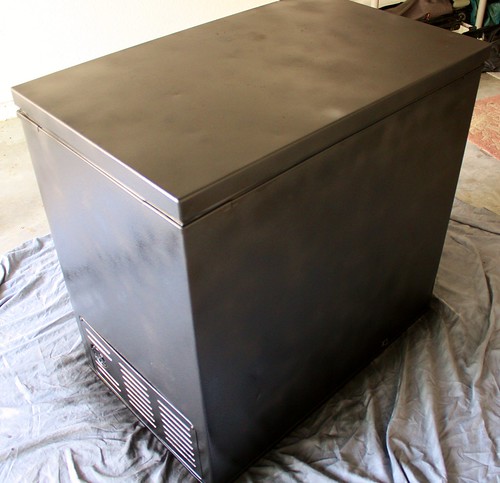
I started prepping the freezer for spray paint by lightly sanding the painted metal & removing any rust. I then used an indoor/outdoor primer before adding the chalkboard spray paint. The above picture is the freezer after its first coat of spray paint. We decided to go with the chalkboard look because we were inspired by this keezer & we're also going to be bringing it to our reception, so it will match the rest of the wedding :]


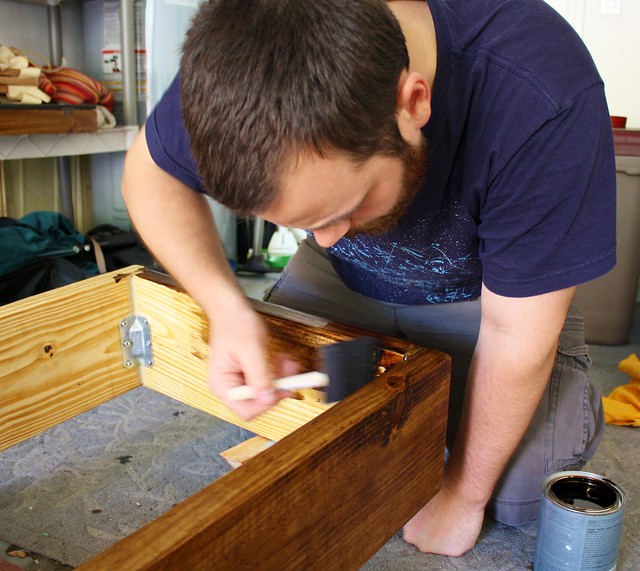
While I worked on the spray painting, Burton got started on staining the wood collar. We used a wood conditioner first & then just did one coat of stain. After letting it sit four 24 hours, we used a clear silicone caulk to attach the collar to the freezer base.


Now we just need to let that sit for a couple of days. Next up, we'll reattach the lid hinges to the collar & start working on the inside components. We have a brew/work on the keezer day scheduled for Sunday :] Whew!