Photobucket        Photobucket       Photobucket       Photobucket
Showing posts with label DIY. Show all posts

just some christmas DIYs!

 
It's hard to believe that Christmas is only a week away! I know I'm getting older because I'm constantly asking myself: Where did [insert month here] go? But seriously, December, where did you go?? Luckily I got most of the decorating & present-making out of the way at the very beginning of the month, otherwise, I'm not so sure it would've gotten done. So here are a couple little holiday DIYs for you, if you're looking for some last-minute decorations or gifts!

DIY snowglobes. So much fun to make & SO cute! I just bought these mason jars & painted the inside with white dots & snowflakes. Then I just hot glued a handful of polyfil to the inside of the lid and hot glued a cute little ornament or pine tree on top. Screw on the lid, add a bow, & BAM! You've got yourself a heartfelt present :]

 
Pretty gift wrapping. Doilies + Kraft paper + twine = MAGIC.
Honestly, what's inside won't even matter ;]
 
Mini Styrofoam trees. If I had a mantle, that's right where I'd put these guys. Just wrap the yarn around & around, add sewing pins, & floral wire stars on top. I love this time of year :] Check out some of my past holiday DIYs: Yarn Christmas wreaths. Felt lightbulb garland. Handmade gift tags. Happy crafting!

pinterest overload


You know I love Pinterest as much as the next girl! But as inspired as I get when pinning up a storm, I get so overwhelmed when I look back at all my pins & realize how few them I've attempted. So I'm making a goal to try my hand at (at least) 10 Pinterest crafts this summer. I know I'll be a busy bee with our trips to Portland & Israel (more on that later!) but I think I can do it. I'll be posting about each one of course & I'm so excited :] Nine more weeks until the end of the school year!

DIY fabric boutonniere tutorial


Today I made the boutonnieres for the fellas in our wedding party! I'm pleased to say they turned out much better than I was expecting :] For the fabric flowers, I used the same method from my flower hair pin tutorial. I cut out leaves from felt & used a hot glue gun to attach them & the flowers to thin wire. Next I just wrapped them together with tape & raffia & added a little bow. Super cute & barely cost me any pennies! 61 more days until the BIG day!

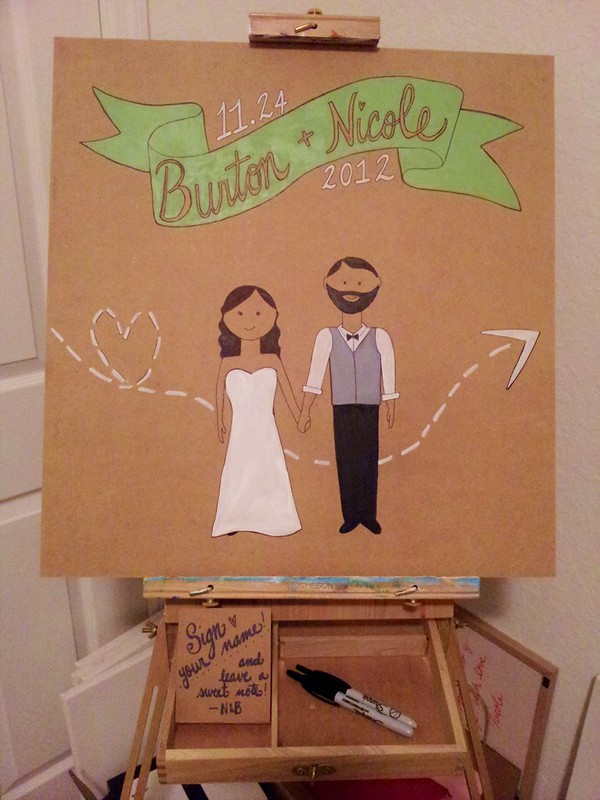
our wedding "guestbook"


I just finished our wedding "guestbook"! Rather than having a book that gathers dust on our shelf, we decided we wanted some fancy wall art instead. Using the MDF board leftovers from my framed chalkboard project, I painted this signage with plenty of room left over for people to add their names & sweet thoughts. I painted Burton & I to match our cake topper from Ready Go Paper Studio. Cute, no? & we'll even be displaying it on my easel at the reception, with the drawer pulled out for all the pens :] I can't wait to hang this in our home, post-wedding. I just love unconventional guestbooks, don't you?

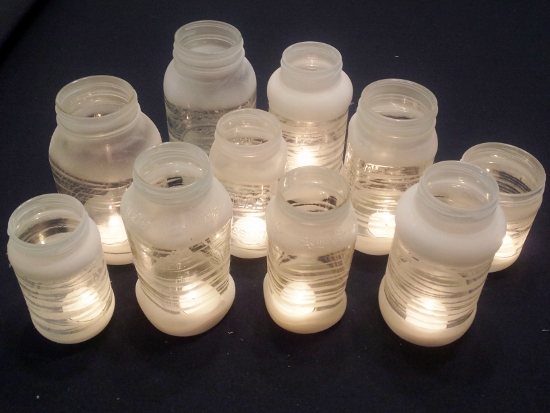
DIY wedding aisle votives


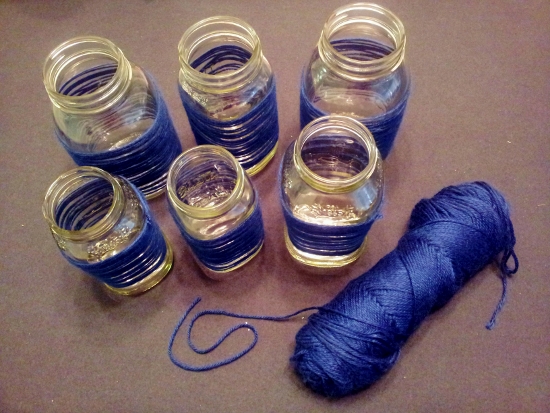
In place of flowers (since we have no florist), I made these super simple, budget-friendly votives to line the wedding aisle :] I asked teachers around my school to collect glass jars from pasta sauce or pickle containers & I really like the different shapes & sizes I wound up with.


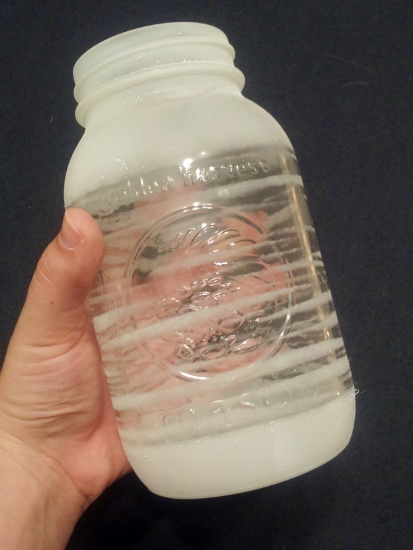
All you need for this project is the jars, yarn, & spray paint. I used frosted glass spray paint, but I'm sure other colors would like nice, too. Just wrap up the jars with the yarn (not too much) & get to spraying! After a few coats & the paint is dry, peel off the yarn & admire :]


They really look beautiful once you pop in a tea candle. I can't wait to see them light my way towards my favorite fella on our wedding day :] I just get mushier & mushier as the date gets closer!

DIY moss-covered letters


Over the weekend, I did a quick little wedding project of making moss-covered initials for Burton & I. Sorry for the lousy, but Instragram does not do moss justice ;] Overall, this cost me around $5 -- all you need are those cardboard letters sold at craft stores & a bag of moss from the floral section. I used a hot glue gun to apply it to the edges & the front, which only took about 30 minutes to do both. I'll be adding some twine to the backs & hanging it on either side of my fabric scrap wreath on the barn doors at our wedding :]

Bling Bling! DIY Starbucks glitter cup!


As it is a new school year, I figured I needed a fancy upgrade to my classroom water cup! I'm now jumping at the chance to walk around campus with it & I've already gotten a ton of compliments! Not gonna lie, I got the idea from Pinterest, but I tweaked the method a little bit. The tutorial I saw recommended using a a spray adhesive like Super 77, but warned against it possibly creating fogginess. So I just used regular ol' glue & it turned out just fine.

You need the Starbucks "dry erase" insulated cup for this tutorial, which has an inner cup that twists out. I got mine about a year ago & I'm not sure if they still sell them in stores anymore. But I'm sure you could always find something similar. Use a paintbrush to apply school glue to the outside of the inner cup & roll it around in a bunch of glitter. Wait for it to dry & carefully twist it back into the outer cup. Super simple! This would look really cute in other colors, too ;] Happy crafting!

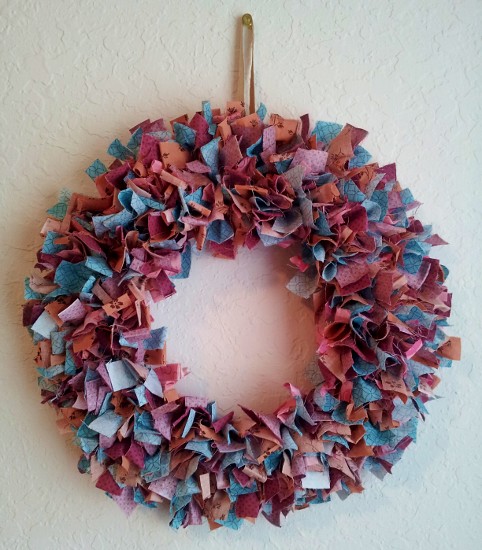
DIY fabric scraps wreath


I had plenty of scrap fabric left over from my fabric flower hair pins, so I decided to make this little wreath with them! All you need is a wire wreath frame & fabric scraps (I just like to use the fabric quarters they sell at Joann).


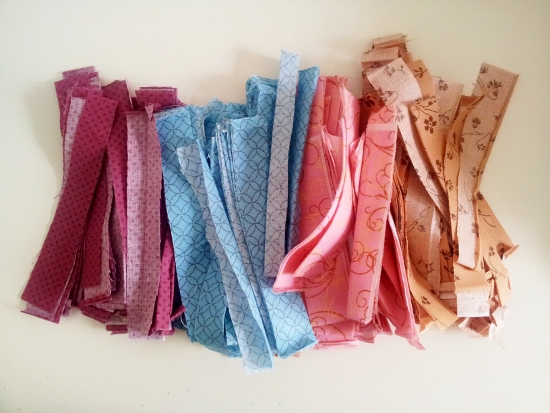
Cut up all of your fabrics into strips about 6" long & half an inch wide. They don't need to be exact though. I just kept folding the fabric in half & cutting until it looked about right. I also laid my scraps out in the order of the pattern I wanted to do. Deciding on a pattern isn't completely necessary, but I think it makes the whole lot process a bit easier.


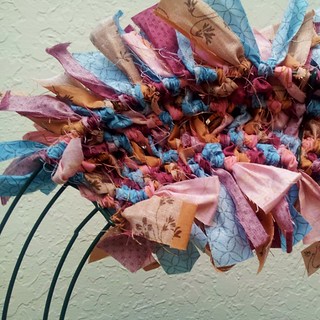
All you do next is tie the scraps around the wire in a knot & slide it, until the whole frame is filled. So simple! It's a little time-consuming though so I recommend watching a good movie while wreath-making. The process itself doesn't require a whole lot of brain power anyway ;] When you're done, just tie some string, ribbon, or rafia in a loop around the wire so you can hang your new creation!

These would be so cute for holidays as well, with fabric in the different color schemes. I'm already eager to make my next one; I just bought some red, white, & blue fabric quarters for an Independence Day wreath. I know I'll have to wait almost a year to display it, but it's the one holiday I have zero decorations for. Happy Sunday! XO.

fabric flower hair pin tutorial!


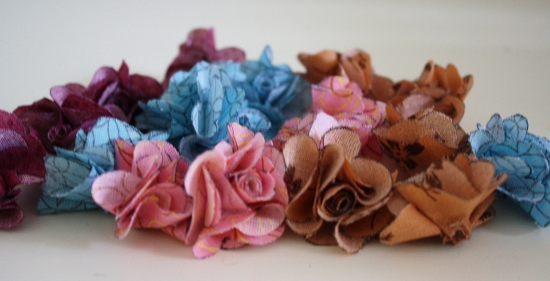
One of the special requests Burton has made in regards to our wedding is that I have flowers in my hair. Cute, right? ;] Since we don't have a florist, I knew I'd have to get creative with making faux flowers & looked through several paper, felt, & fabric flower tutorials. I stumbled upon this one & liked how delicate & realistic they looked. I did do a few things differently though, so here is my take on this cute little project!


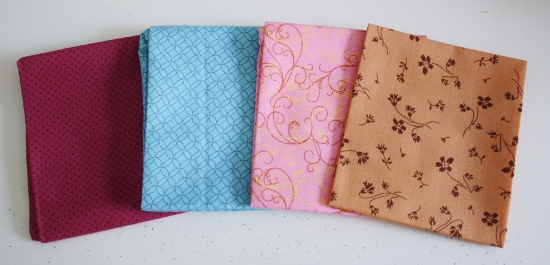
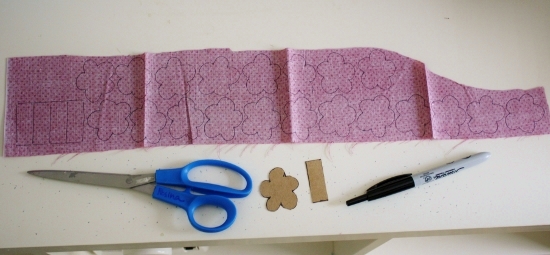
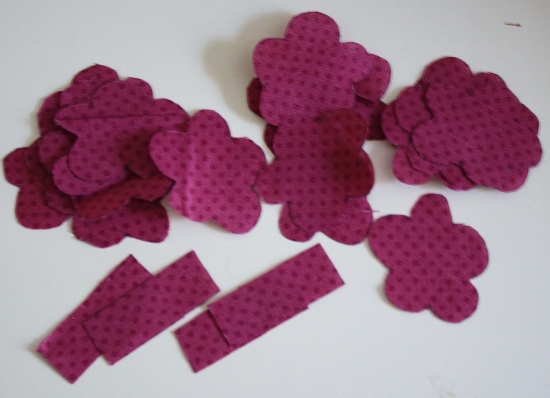
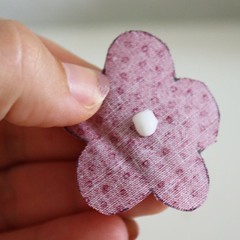
First, pick out your fabric, but you won't need too much. I bought $1 fabric quarters from Joann in colors to match our wedding colors, & I still have PLENTY left over. Maybe I'll make some cute bunting with it? Freehand a flower & rectangle template on some chipboard & trace it on the fabric. Each flower hair pin needs one rectangle & five flower shapes. In the picture above, I had actually traced enough for four flowers. Next, cut it all out! Depending on how many you're making, this step can seem pretty tedious, so make sure you've got something good on TV ;]


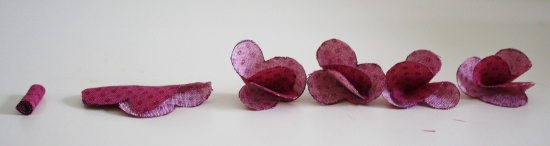
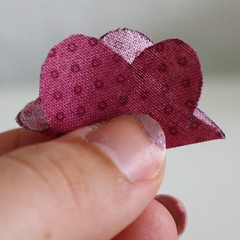
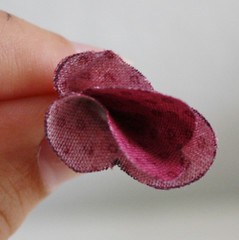
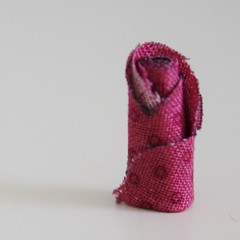
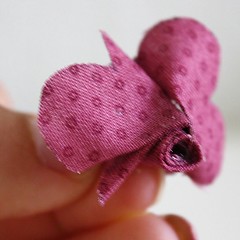
Use tacky fabric glue to roll up the rectangle. This will be the center of the flower. Glue only one of the flowers in half. This will be the next layer of the flower, to be wrapped around the center. Next, put a drop of the tacky glue in the center of the remaining four flowers. Fold it in half & then fold it in half once more. Allow all of the pieces to dry before assembling them together.


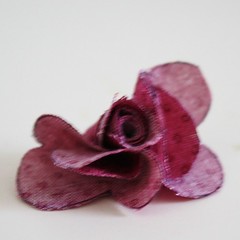
Glue the half flower in place, wrapping it around the rectangle piece, with the fold at the bottom. Glue the other four flowers to the base of the center, two at a time. That way, you can control the form of the flower a little bit more.


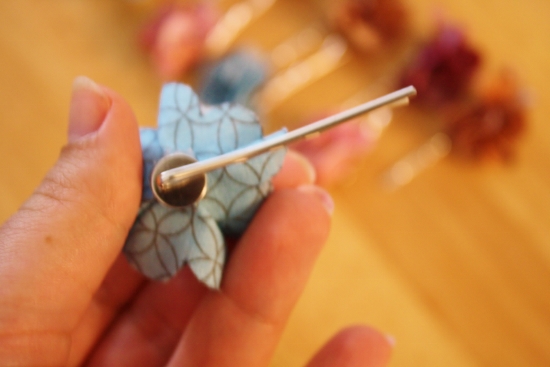
Once the flower is finished & dry, use a hot glue gun to secure it to a hair pin. I used ones with a little pad on one end of them. A set of 10 from Joann was only a couple bucks. The tutorial I used for inspiration recommended using foam in between the flower & pin, but I didn't use any. They still seem pretty sturdy :]


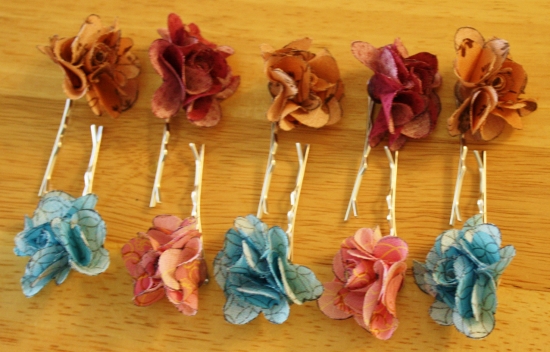
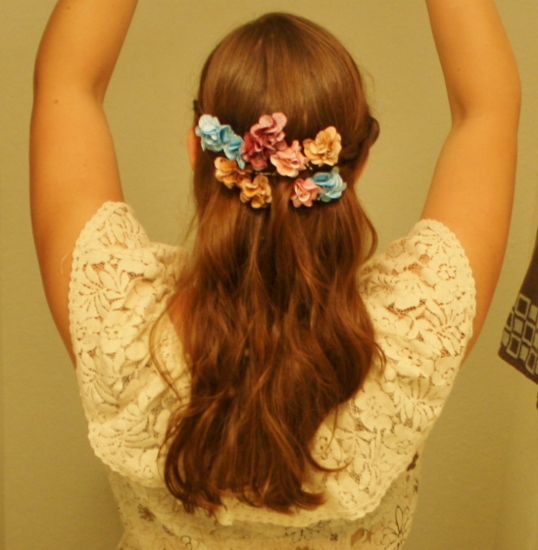
Of course, once I was done, I shoved them all in my hair randomly & ran to the bathroom to take a picture. This is close to what I have in mind for my wedding hair, but I'm sure my hair stylist will do a much prettier job than me ;] Anyhoo, I'll be back soon with more flower tutorials for bouquets & boutonnieres. Like I said, no florist! XO.

crafting up some more wedding decorations


Burton & I just made the ombre fabric backdrop for our wedding ceremony! It's a simple tutorial, but quite messy. So messy, in fact, that I didn't even bother to take photos during it because the workspace was a disaster. Just imagine drop cloths, dye, & fabric scraps everywhere. So here's the tutorial I used in case you want to look at much prettier directions ;]
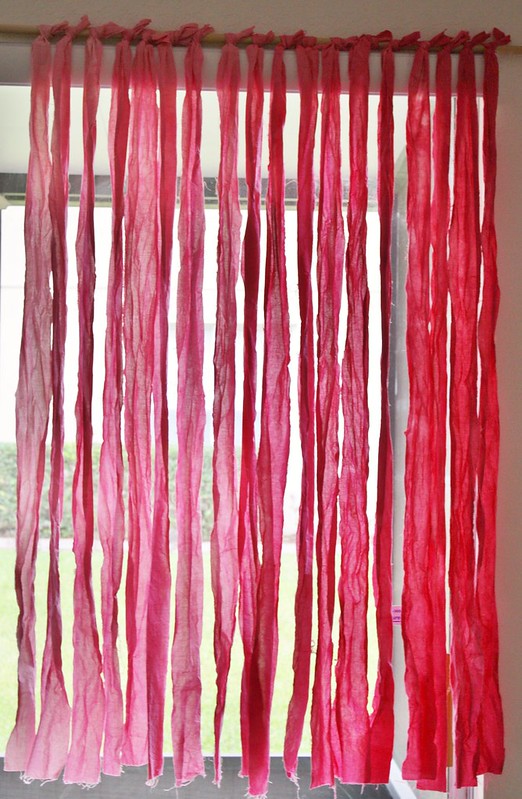

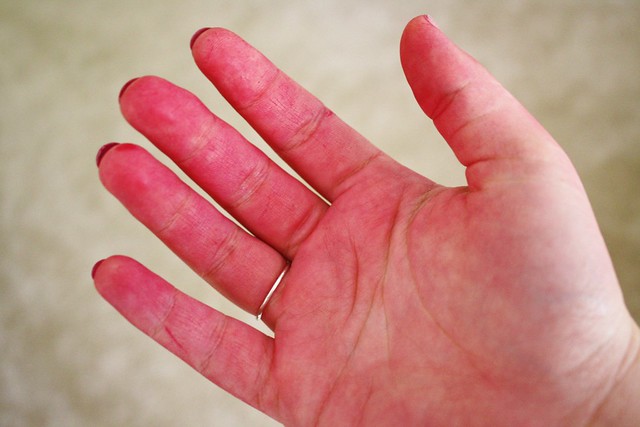
We did do a couple things differently, including not using latex gloves & winding up with ombre hands! We just didn't have any gloves & were too impatient to run out to the store. We also used four yards of fabric, instead of the recommended two, for a fuller look. Once all the dyed strips were dry & strung up, Burton & I spent a few tender minutes standing in front of it pretending to be being pronounced man & wife ;]


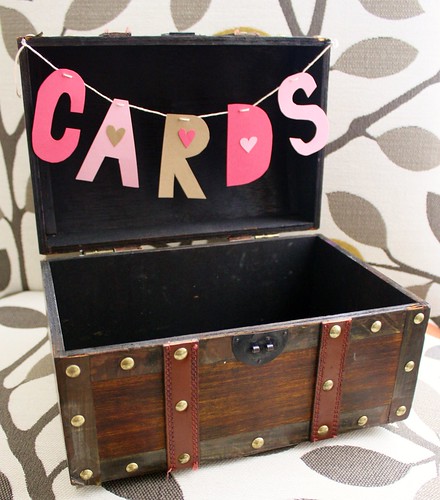
I've also been buried in clothespins to complete these planters to add to the tables. But I took a break from staining those to make a little card box. I had been using this wooden box to store keepsakes for years, but just add some card stock & embroidery thread & voi la! One less thing on my to do list :]

building our keezer, part 2

 
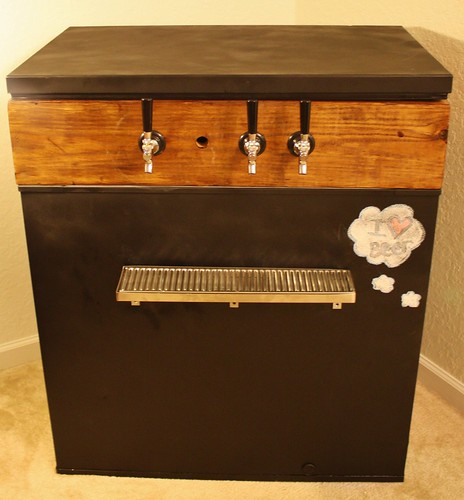
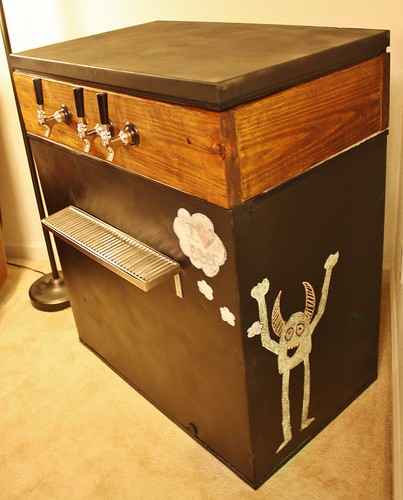
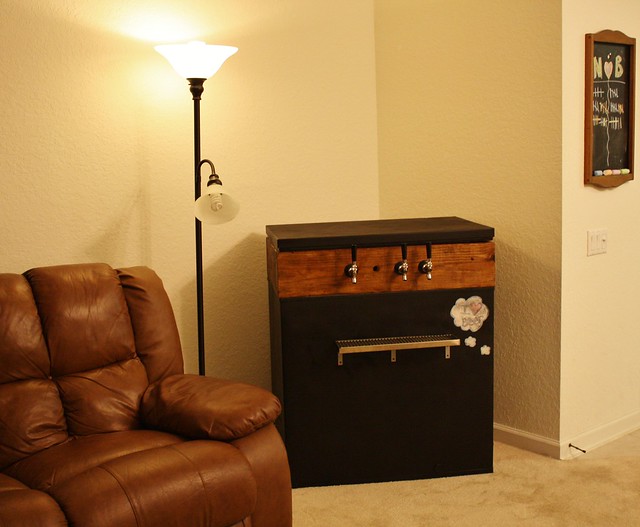
It's complete! Except for a missing faucet due to a shipping error ;]

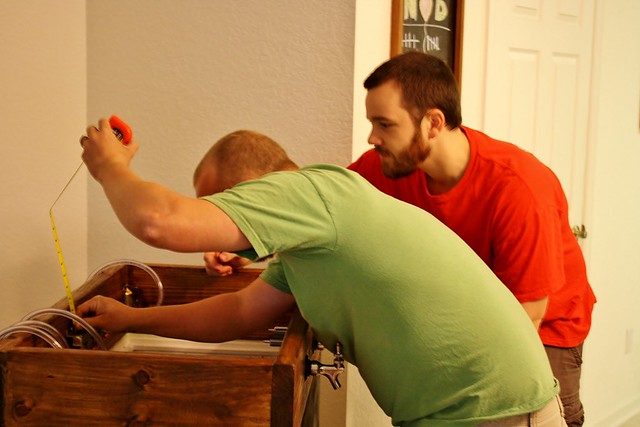
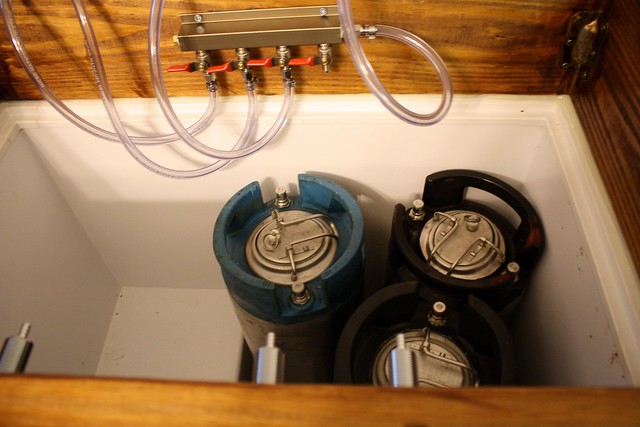
With the outside of our keezer finished, it was time to work on the inside components. Burton & our friend Isaac measured, cut, clamped, & attached tubes to kegs, CO2 regulators, & faucets. Instead of going into the long-winded how to process, here's the video we used for reference. The tutorial is awesome & we honestly didn't even really need to do much research elsewhere.


We purchased used Pepsi Co. kegs & the insides smell like soda syrup!


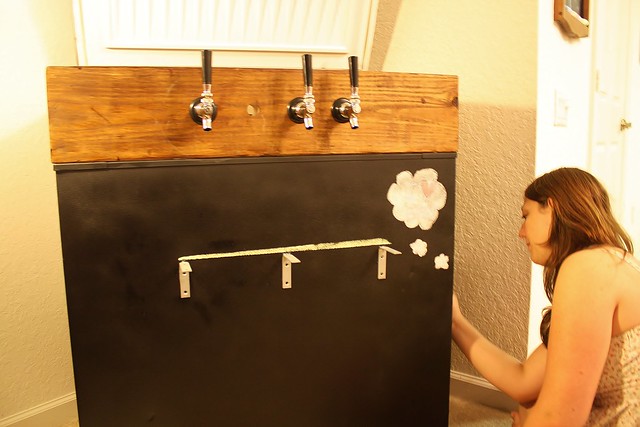
Measuring for the drip tray & adding some chalk decorations :]


We're beyond thrilled & super proud of our latest project. It's sure to be hit at the wedding & will be such a temptress once we get some beer in those kegs! Burton started brewing a new batch today, a vanilla nut brown ale. We'll also be brewing some beers for the wedding soon, including some pumpkin beer to go with the season (our wedding date is two days after Thanksgiving)! Can't wait :]

handmade photobooth props!


It's safe to say that photo booths are the new wedding trend & we definitely want one at our wedding! & what photo booth is complete without props?? Allow me to introduce you to one of the easiest DIYs ever that is sure to warm your heart :]


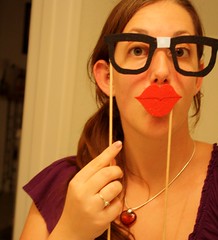
First, look for inspiration! I gathered most of my ideas from the props in this etsy shop & she has many other themed props (like western, holidays, or pirates) to match the feel of the event. Her items are printed on paper, but I decided to use sturdy polyester felt instead. I cut the shapes on the black felt freehand, but used a marker to draw on the lighter colors. You could also use marker to add patterns & details, which I did on the lips & ties.


Run to the mirror to double check the size of the prop, making sure it "fits" your face. Trying everything on was definitely my favorite part of this project :] Secure the felt to skinny wood dowels with hot glue, making sure to keep the dowel straight, allow to dry completely, & then admire! I was able to make about 20 pieces for less than $5. You seriously can't beat that :]

PS; here is some more fun photo booth inspiration.

DIY upcycled garter!


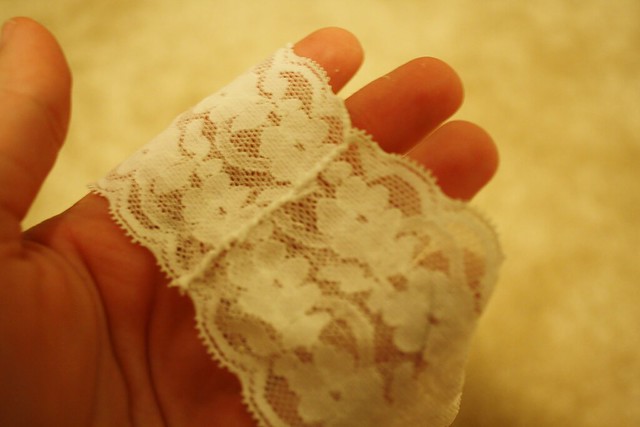
I just made my garter from a torn pair of underwear -- It doesn't get anymore DIY than that! Let me explain: my dog loves to eat fabric & has chewed through a number of my panties. After the last pair she destroyed, a moment of genius struck me. The pretty elastic lace that goes around the waist would be perfect for making a garter!


Now I know paying for a garter wouldn't break the bank & I was already looking around at buying something like this on etsy. But I can never resist making something myself :] So I trimmed off the lace, threw the rest away & carefully sewed the ends together.


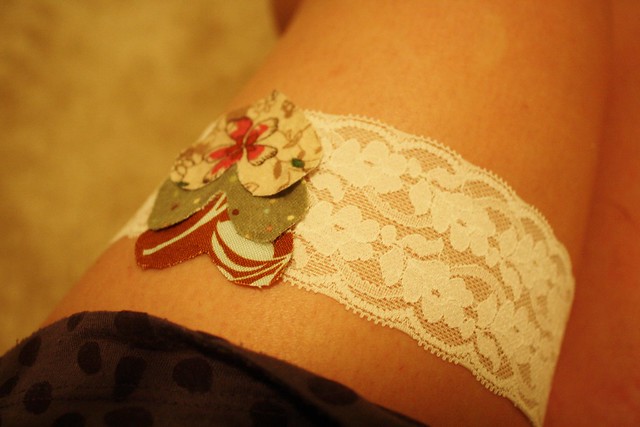
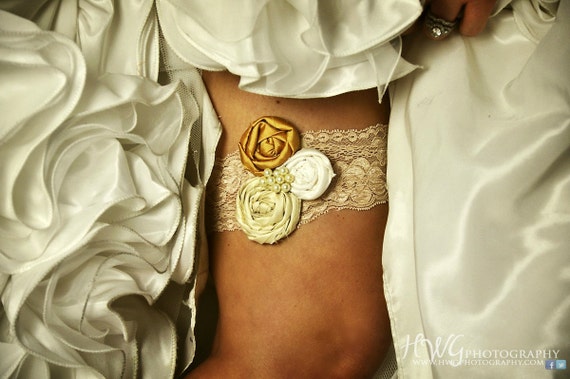
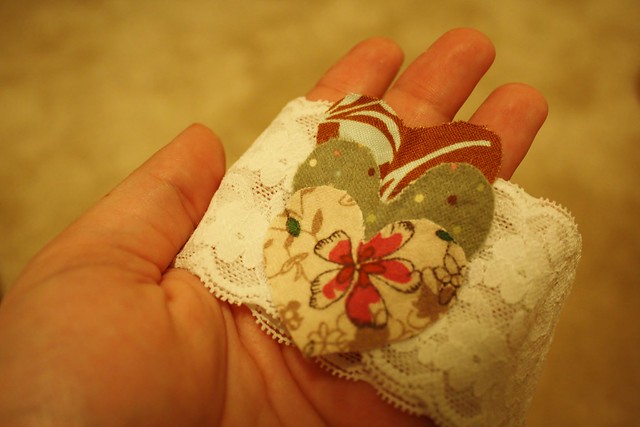
At first, I tried to make little rosettes out of fabric scraps (like my inspiration photo), but it wound up being too bulky. So I decided to keep it simple. I cut out little hearts from different fabrics & tried to arrange them in different ways. Once I settled, I glued them down to each other & to the lace with tacky glue, making sure to cover my stitches on the lace. Thinking about it now, I might stitch them down just to be safe.


So there you have it. Sweet & simple & it didn't cost me a penny. Which is good because it's just going to get tossed anyway ;]